Sunday, February 24, 2013

moving forward , Rear end and Footbox


Well it's been a few weeks since I written anything. We have been busy fighting flu's and colds here at home and finally everyone in the family is on the road to being healthy.

This morning I was up early (5:30am) and headed for the garage. put in a good six hours working on the car, plus a few hours on Saturday.

The rear end is almost complete (got to say without upsetting Lori... that is one good looking rear end!) and should be ready this week to be installed on the chassis..
.
 
 
It will look much better when she's fully dressed (Tires and rims) and wrapped up in a tight fiberglass body!


Which kind of leads me into the fact that the car does not have a name yet... I'm sure that it needs to be a women's name or perhaps something like Black window or the beast... nah, boring got to be a women's name... Any suggestions?
 

Anyways, I got a little bored turning wrenches sitting on the floor of the garage working on the rear end. Still a little chilly here in the morning and I don't have a heated garage. So, I worked on the bench on the foot box. Assembling the Brake and clutch components into the chassis.


In addition, I installed the firewall sheet metal and the heater assembly.


By the way climbing in and out of the chassis installing the firewall and heater my pants got caught on some sheet metal and torn them...that and a couple of bruises and skinned knuckles, she plays a little rough..Even had  to modifiy a tool to work on her...


Next, after completing the rear end install I'm moving to installing the steering.
 
 
This week I'll be ordering the Accelerator petal and the computer system. This kit might be modeled after a 1960s Cobra but, with the motor that I'm using I'll be able to go to any Ford dealer and be able to get a full diagnoses done through the OBII port.
 
This week my next door neighbor brought over an engine lift for me to have as well as I should be recieve an engine stand to have...
 
Soon I'll be asking for people opinion on the color....I have a couple of colors in mind but, I'm curios to what everyone else thinks would be a great color.


Monday, January 28, 2013

Getting serious now, Front suspension.

I had some time this weekend to work on the Cobra. Moving beyond the sheet metal and started some serious wrench turning.With my trusty torque wrench and a pile of parts in hand... of course, the build manual near by. I dove into the front suspension. This picture shows only some of the parts used on the front suspension.Spindles, upper/lower A-Arms, Steering arms, shocks and hardware.

Here is a picture of where I'm at now. This is just all of the parts put into their right location (mocked-up). I still need to torque everything down. The upper A-Arm assembly is fully adjustable.... Ummm, by I professional once the car is complete. You can see the hub in the lower left side. Once that is installed I'll begin to work on installing the brakes.
 
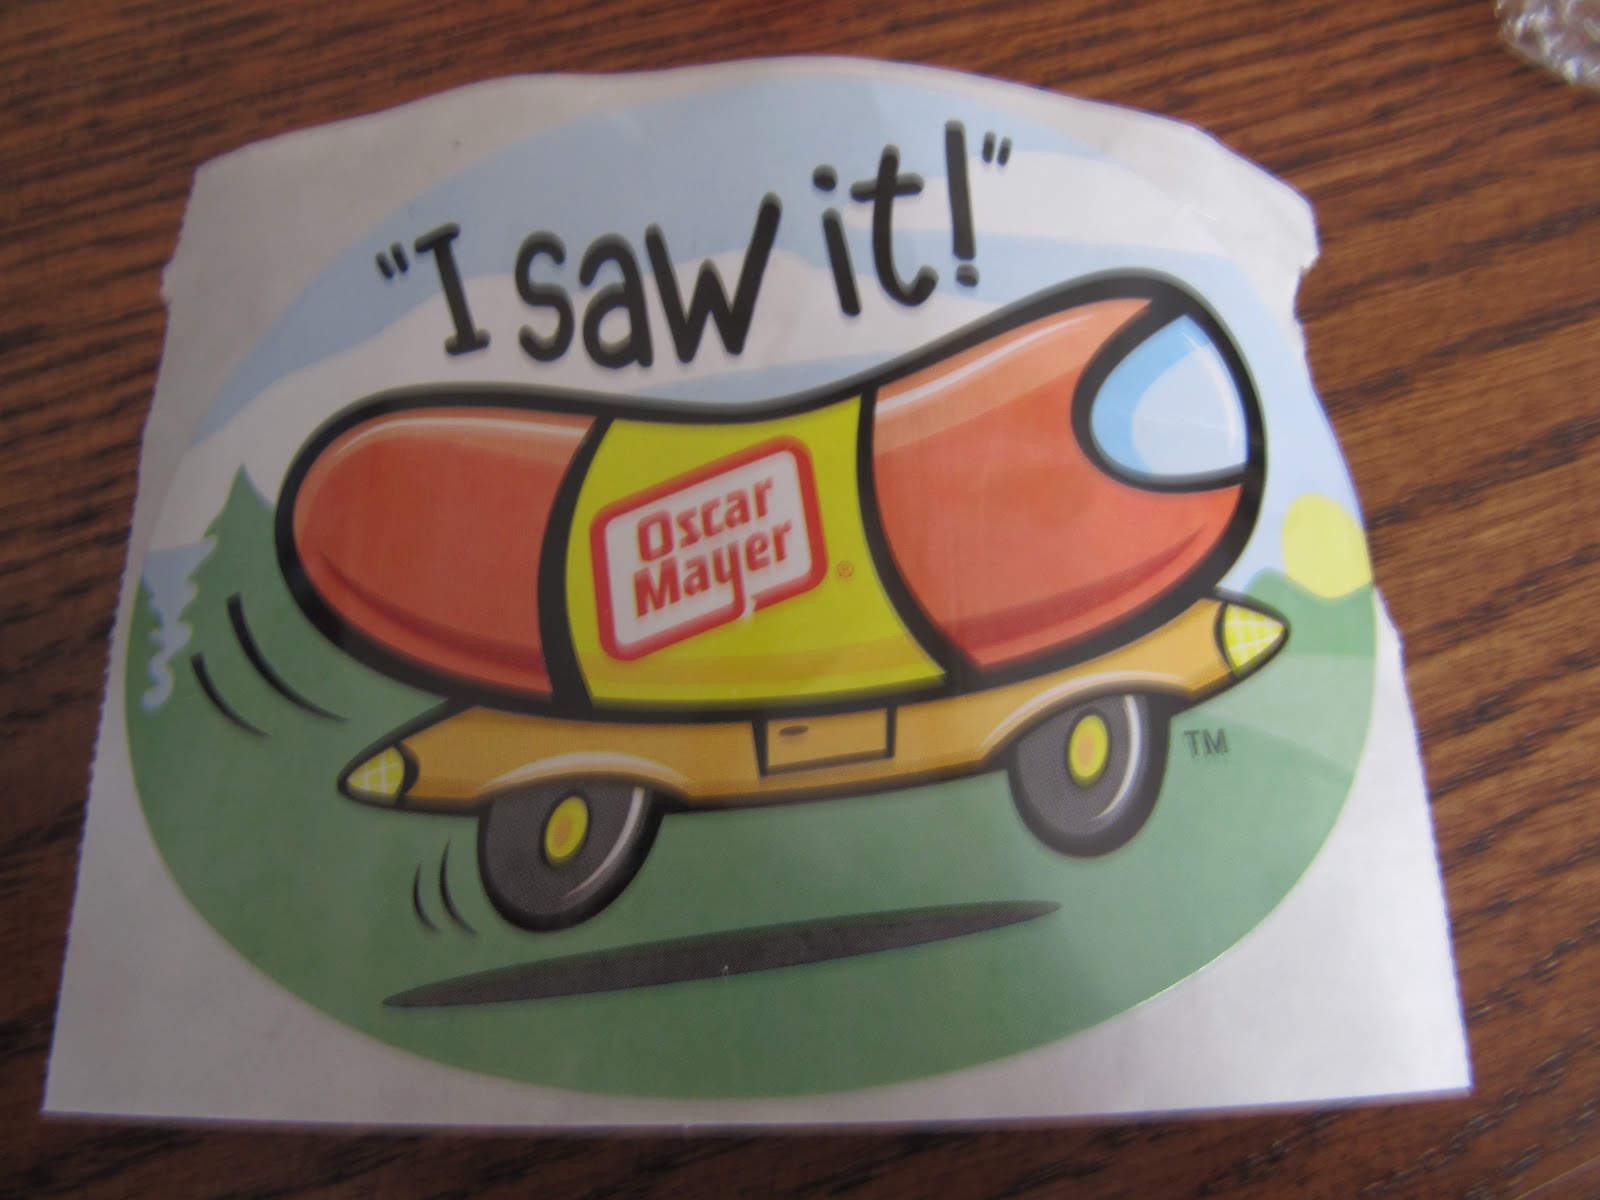
 We did take a few minutes to stop by our local Albertsons and visit with the Oscar Myers Weinermobile. Isn't as cool as the cobra. But, it is a pretty cool automotive design. Based on a GM motorhome chassis. Hmmm, Cobra painted Yellow with Orange strips, HOT DOG!.... I don't think so. The cobra needs to be paint a color to blend in a little more.

Even Jenn and Dominic showed up and get their hands on a Whistle and sticker!


Well, that's it for this week. Next week is Superbowl. So, I don't expect that I'll be spending to much time in the garage.

Sunday, January 20, 2013

First sheet metal part installed

Well, it looks like I should make this a "I'll post when I make some progress"...blog.

So, I did made some good progress on the build this weekend.

One of the big highlights of the weekend was a Factory Five Builder/Owner (Ray and Jodie) stopped by on Saturday morning with his roadster! It was very motivating to talk with both of them about their build and some of the improvements that they see from their version.

He even took me for a ride.

Between you and me... this was my first time going for a ride in Roadster!I've sat in a few of them... but, to feel the power and hear the roar of the side pipes...Yes, I made the right choice!
 
It was a blast! very quick and...a very manly ride! Ray has offered his help when I need it and I'll take it!


One of the other things that happened this weekend was that several neighbors came over to the garage and looked, asked question about the car... Neighbors that I have only nodded to in passing. I've learned that I have at least four neighbors that are or were mechanics in their careers and they offered help. Pretty cool. I'll be talking with them all in the future for advice and/or lifting help. 
 
 
Progress on the car, I pulled all of the Aluminum off of the chassis.


Now we can see all of the structural members of the chassis. Very well designed and excellent craftsmanship on the fabrication.

The next step was to install the first piece of sheetmetal. Its called the "F" panel and it goes over the front suspension. One on each side.

There is some prep work the needs to be done to the sheetmetal before installing them.

So before removing the sheet metal from the chassis each part is marked where the mounting tubes come in contact with the sheetmetal. Once marked using a template holes spaced 1-1/2" apart are drilled through the sheet metal.


Once you have the holes in the panels you place it back on the chassis and transfer the through holes into the chassis. I'm using Cleco's to hold the piece to the chassis.Kind of a third hand.


Once all of the holes in the chassis are drilled. Each panel is held onto the chassis with Silicone sealant and Pop rivets.

Next step is on to installing the front suspension!! good story from Bill Cosby on the AC Cobra


Monday, January 14, 2013

Mid January 2013... update

Well, it appears that I need to change this Blog from a weekly to a Bi-monthly issue.

Had a busy weekend. Finished building the Body buck and actually placed the Body on the buck. The body is made out of fiberglass, 3/16" thick. Just so you know... the fiberglass body is purely a cosmetic part of the car, it is not a structual member. This also goes for the sheetmetal. One of the reasons that I choose the Factory Five roadster over othe kits. The chassis is designed to support the vehicle.

This buck supports the body while it is off of the chassis (the body will live there for a couple of years). This buck design allows the body to stay in the garage during the build. I had to build the buck high enough to allow the body to stay above the chassis and only taking up half of the garage floor space. It has locking casters on the bottom of the legs, which allows me to roll the buck and body in and out of the garage.

Body buck during construction, inverted


I also took the time to take some photos of all of the body mounts to record the hardware stackup.


On Sunday night I had the buck completed and had Lori (wife), Jennifer (Daughter) and Jacob (Son in Law) come out and help me lift the body off of the chassis and lift it up to also 60" high to get it on top of the buck. It was almost comical watching Lori and Jenn tippy toeing to be able to help lift the body onto the buck.

The next thing that needed to happen is that the buck and Body had to be able to fit buck back in the Garage and clear the chassis as well as the garage door. Lori was stationed on a step ladder to make sure we didn't hit anything...Plenty of Room!


This gave me a chance to have a closer look at the chassis.
 
Driver side foot box
Front Tubes and suspension mounting points.

The Buck is 80" wide and 8' long! It needed to be wide enough to clear the tires and wheels once installed.

I still need to install some shelves on the inside of the buck so that I can place some of the sheet metal as well as the doors, trunk. Would also like to install a couple of more cross braces to remove any concern of rolling the buck out on to the driveway... no a smooth surface, cobblestone.

Next step is to document all of the sheet metal on how they are installed from the factory. In addition, I need to mark all of the tubes and supports where they come in contact with the sheet metal. This is where all of the holes will need to be drilled.... planning on putting a Rivet every 2" to give me a good, hopefully vibration free install. The kit was shipped with 1500 rivets!


Thursday, December 27, 2012

the beginning...

This will be my almost Weekly Build Blog, (although, I'm a little behind) while I'm building my Factory Five, Roadster.
AC Cobra, real deal... thanks Shelby

While more then likely this will not be the color of my car, I'll be choosing, this is a great example of an AC Cobra.

You might be wondering why name Howling Cobra for this project. The build plan is to build a Cobra and have it powered by the new Ford Modular motor named the "Coyote"... over 400HPs out of the crate!

Fords new modular 5.0 coyote
so far,where I'm at... today being 12/27/12

8/16/12 placed an order with FFR (Factory Five Racing) looking for a delivery near the end of the year. I was taken advantage of the FFR 50% off everything above the kit sale... I "saved" $4500.00.
I opt'ed to purchase a complete kit instead of taken parts from a Mustang "Donor" car. I'll highlight the option as I go through the build.
My kit on the rack, waiting to come home!
11/09/12 Lori and I traveled to Michigan for a three day build school. 12 guys and myself got to together with 2 instructors and build a complete car in a weekend.

Build school in Michigan


First day of class


yep, yours truly! Practicing on Riveting... some 1500 of them in the kit.

Motor in....

getting ready for the first start up

Me sitting in the project car, No, I was not allowed to drive.. the instructor was and did a great job wearing down the tires!

A great class to attend gives you a great grasp on just what it was going to take to build a car... needless to say afterwards I was ready to go!!!

12/01/12 wire transferred the cost of the kit to FFR, My CFO (Lori) felt that sting! now with less then a month to go we had to prepare the (nursery) garage to be able to have a car and many boxes to fit comfortably.

The kit was to be picked up by Stewart transportation around the middle of the month from the Factory in Massachusetts  Meanwhile a couple of items were to be dropped shipped to the house.

12/20/12 the Brakes were on the front porch. Always wanted a car with two things... Big Brakes w/ Red Calibers and a large V8! This project should help fulfill both of those items
Wilwood brakes, 6 caliper, 12.8" diameter!
12/21/12 the next stack on the porch... Halibrand Vintage wheels the rears are 17" x 10.5" wide! Should help fill the wheel wells... nicely!

On the same day I got a call from Stewart transportation that the driver (Bob) was to be at my house first thing in the morning on Saturday!! Holy crap! more then a week early. Bob lived out in Phoenix and wanted to be home in time for Xmas. 

12/22/12 the day has finally arrived! The driver called and he was going to be nice and early for the delivery.
Bob from Stewart transportation doing a great job backing down our street!
And there she is!

Waiting for the boxes of parts to be off loaded... over 30 of them!
Just one of the cart full of boxes
more parts...
Time to unload the chassis and with sheet metal and body in place


Bob, the driver has delivered over 100 FFR kits. Earlier in the day he delivered a Roadster kit to a gentleman in Poway... the owner gave Bob his contact information. So, I might have another guy to follow along with. In total on this trip from Massachusetts  Bob delivered 8 kits.

Placement of the body on jack stands in the "Nursery"


Of course, the first order of business was to take a picture of me sitting in my new (future) daily driver. Living in southern California does have its advantages!


Grandson number one, enjoying the view... don't get to comfortable there, just yet! your time will come.
12/27/12 today's posting... still working on inventorying all of the parts to make sure that I received everything. So, far everything is dead on. Thanks FFR! this weekend I need to build what is called a Body buck. this is a rack that is designed to hold the body above the chassis to allow me to work on the chassis without damaging the body.


Similar to this body buck
Notice the wheels on the bottom, designed to be wheeled away from the chassis during build and wheeled back, still only taking one car space in the garage. Doesn't mean that we can park a car next to it... still have to put the 30+ boxes somewhere.

After the body buck is in place, the build will start. Front Suspension will be first followed by the rear. The plan is for a three year build.

I should mention before I get to far along in this blog to mention just how grateful I am that Lori (Wife, Friend, Mother to my children and CFO of the house) has given me this great opportunity to build a dream. Been almost 30 years of marriage and what a ride it has been so far. Can't wait to have her at my side while blasting down the road in a car that I built for the next 30!