Monday, March 25, 2013


Well, I finished the cockpit sheet metal... well almost, the transmission cover goes on much later in the build and there is still a couple pieces of the driver foot box that will also be installed later.


So, some of the stats on this portion of the build, Almost 200 rivets were installed! That means that around 400 holes were drilled n sheet metal and sub-frame.

 
The back panel sheet metal has 100 rivets installed and no I did not use a pneumatic riveter. Does look pretty cool. unfortunately I'll be covering it with thermal/sound deadening material and carpet at least I will know how cool  looks. Got to hand it to Factory Five most of the sheet metal fit very tight without any adjustments. Only one panel needed to be formed a little bit to fit nicely.


All of the Aluminum surfaces that are facing outside of the car are coated with Shark Hide to help preserve the Aluminum.
 
So I think the next thing is to prepare the driver side foot box (drilled holes) and use the Cleco’s instead of riveting them for now to allow me full access to the pedals, brakes and fuse panel.

With the cockpit sheet metal done I took the opportunity to place the seat and steering wheel in place to see how I fit. Being 5’-10”… no problem looks/feels like plenty of room. I’ve been thinking about adding a quick release on the steering wheel for theft protection. Park and lock the steering wheel in the trunk.


Tuesday, March 12, 2013

Passenger side Footbox sheet metal work

This weekend was I able to spend a few hours working on sheet metal panels. Lots of holes to drill and just as many Rivets to install. I was able to get a little more experience in using the Clecos! and learning that Harbor Freight 1/8" drill bits are good for about 2 holes in the frame and then they are done. Need to find a better source for the bits! I need to go on-line for some contractor, bulk package bits.

In addition, to riveting on the panels I've ran a bead of silicone around all of the flanges and any gaps in the pieces to help ensure that I'll be able to keep out any water. I know it's going to be tough when the car doesn't have a top! Thankfully living in Southern California I won't have too worry to much about rain.

 
The kit came with a template to help with the spacing of the rivets. Note: not every hole has a Cleco installed just enough to keep the panels from moving around.

 
Here is a picture of the internal side of the foot box. As the build progress I will be installing some sound deadening and thermal material and then the top layer of carpeting.

 
Here is a picture of the completed foot box.... pretty! Too bad most of the sheet metal will be covered.
 
Here is a picture showing the parts that I will be working on next. Passenger floor board, side panel, transmission tunnel (partially) and rear cockpit


Here is a current view of the front of the car.


Once most of the sheet metal is installed. I will be working on installing the brake and fuel hard lines! Looks like I'll be learning how to make flares and how to make nice bends in the tubing.


Monday, March 4, 2013

She's a roller now....

Its been an interesting week on the build. If you remember last time I was making good head way on the foot box and was preparing to installing the steering rack. (I'm adding some notes to pictures to help define just what I'm talking about)

 
 Well, the steering rack went on fine until I went to install the tierods on to the steering control arms. It turns out the the steering  control arms have a tappered hole to line up with the tappered hole on the tierod.


So I thought no problem I'll just unbolt the control arm and swap sides... no brainer and in theory should have been done in ½ hour. Well, wishful thinking…. the control arm would not slide out pass the Lower ball joint attached to the lower A-arm. and I could not remove the arm out the other direction. Well, I've now learned a new skill, breaking apart a ball joint. I hit the net to do some research and found a lot of "helpful" suggestions. Tried (and failed) at more then one. Finally had a chance to talk with my neighbor about my problem and he commented... no problem have them a part in a few minutes. Which he then took two sludge hammer and started whacking at the spindles and sure enough... pop the joint came apart! Well, not to be out done I grabbed the hammers and proceeded to done the same to the other joint and wham! success...
 
 
I felt pretty good about getting the steering corrected, installed and functional. It was time to move backwards (really, forwards with the build but towards the back of the car!) with installing the rear end into the chassis. I needed to enlist some muscle to lift and place the rear end into the proper location. I asked Jacob to come over and with Lori's and his help we were able to install the rear end! It weights around 200 pounds and had to be lifted and positioned about 10" off of the ground.
 
 
With all four corners ready for tires and rims it can be consider a "roller"!


Completed Front suspension

Completed rear suspension
 
 
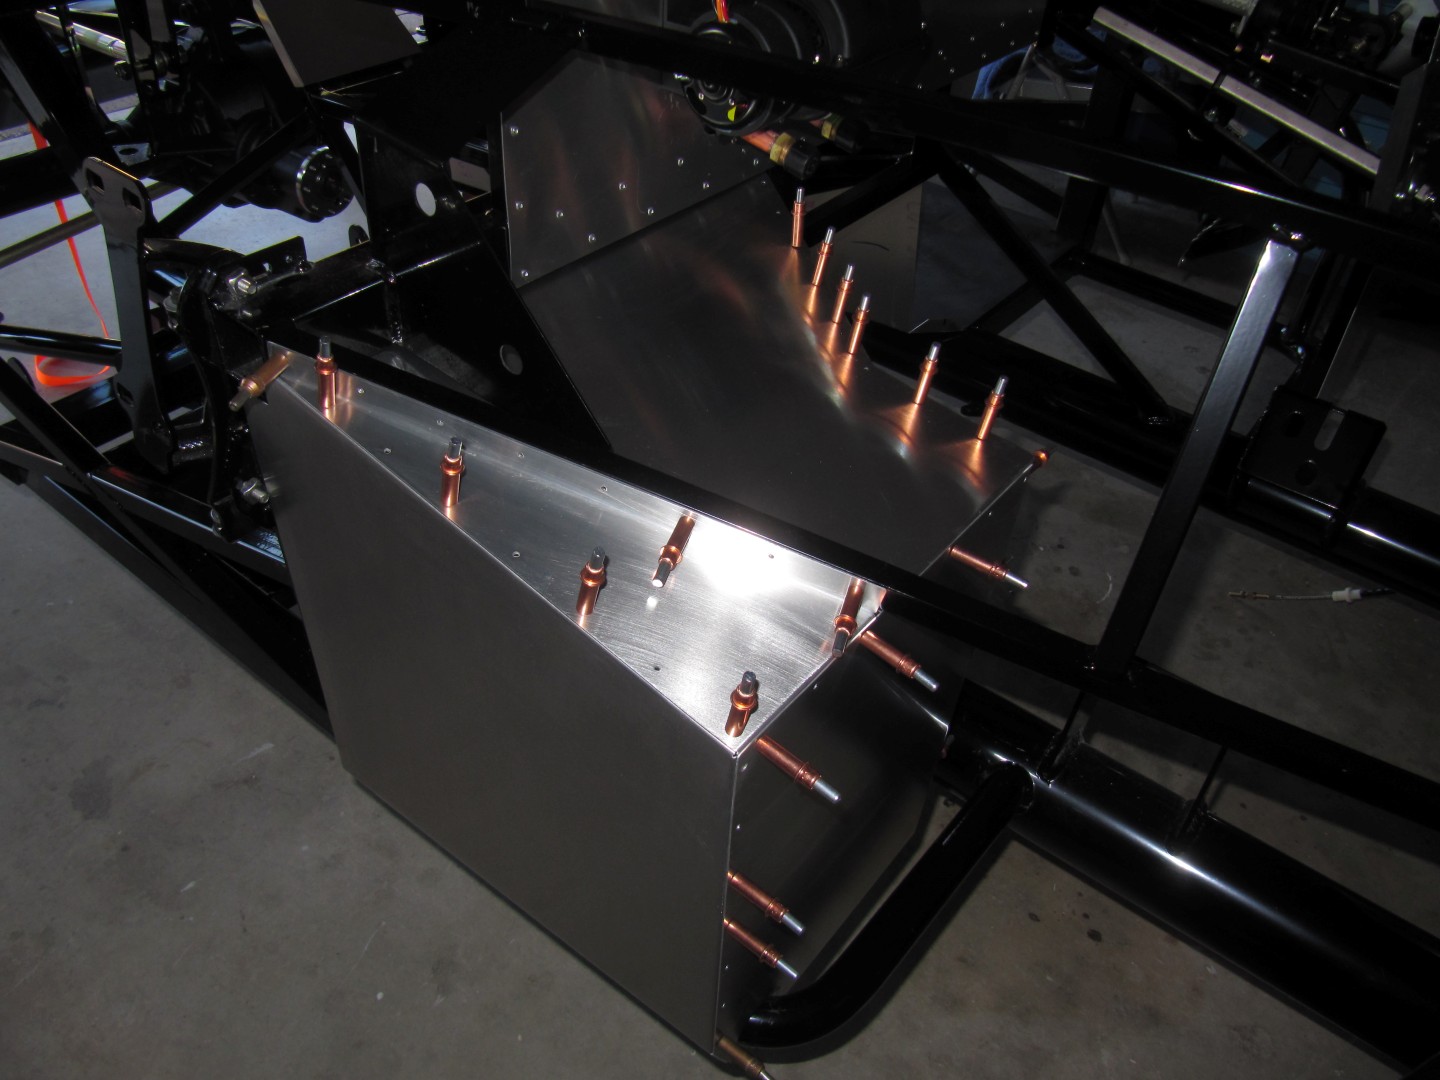
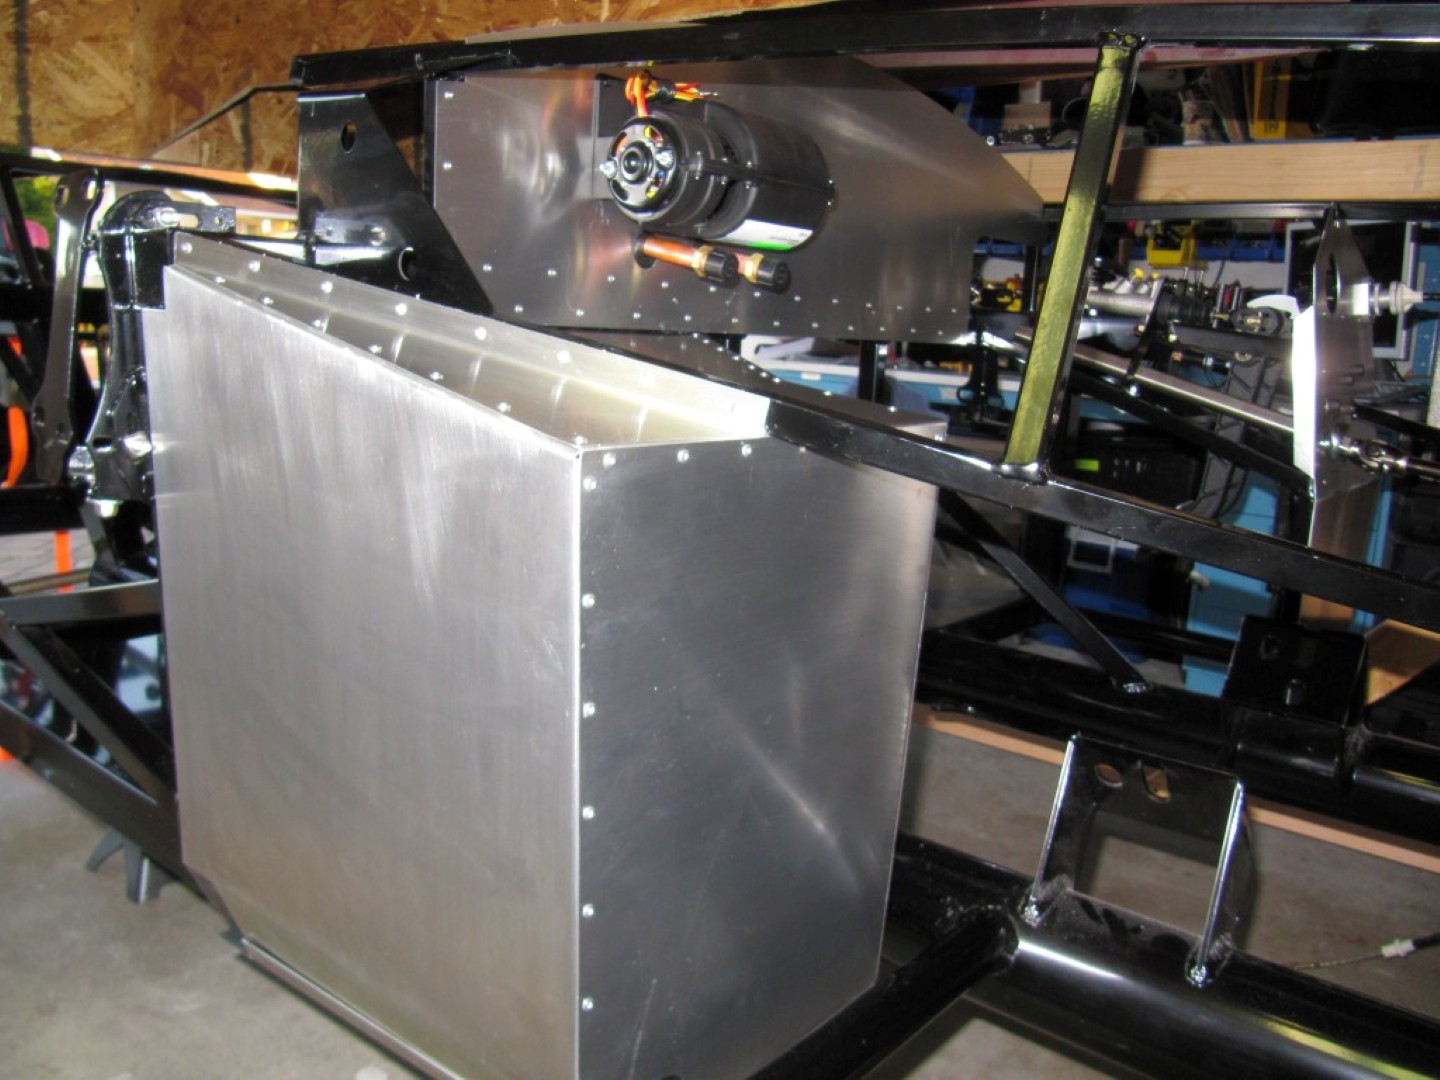
I feel like I'm making some great progress.  This week I'm moving to get the Gas tank assembled and installed into the car.

and after that its on to install some of the sheet metal.
 
Still no decision on her name or her color...