In addition, to riveting on the panels I've ran a bead of silicone around all of the flanges and any gaps in the pieces to help ensure that I'll be able to keep out any water. I know it's going to be tough when the car doesn't have a top! Thankfully living in Southern California I won't have too worry to much about rain.
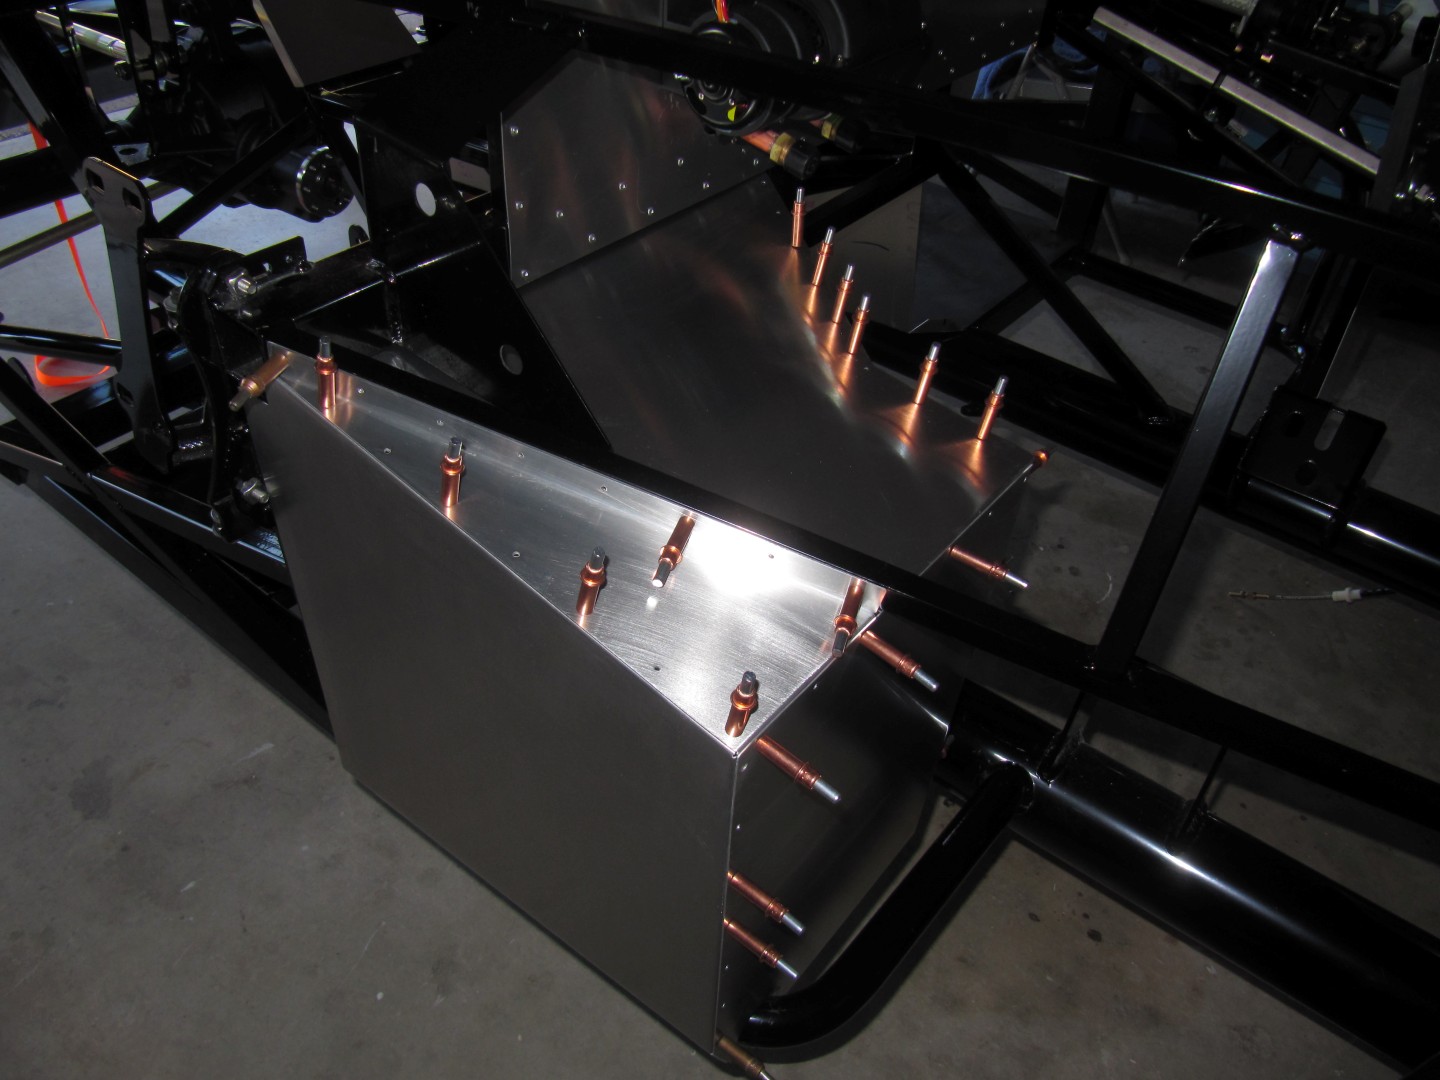
The kit came with a template to help with the spacing of the rivets. Note: not every hole has a Cleco installed just enough to keep the panels from moving around.

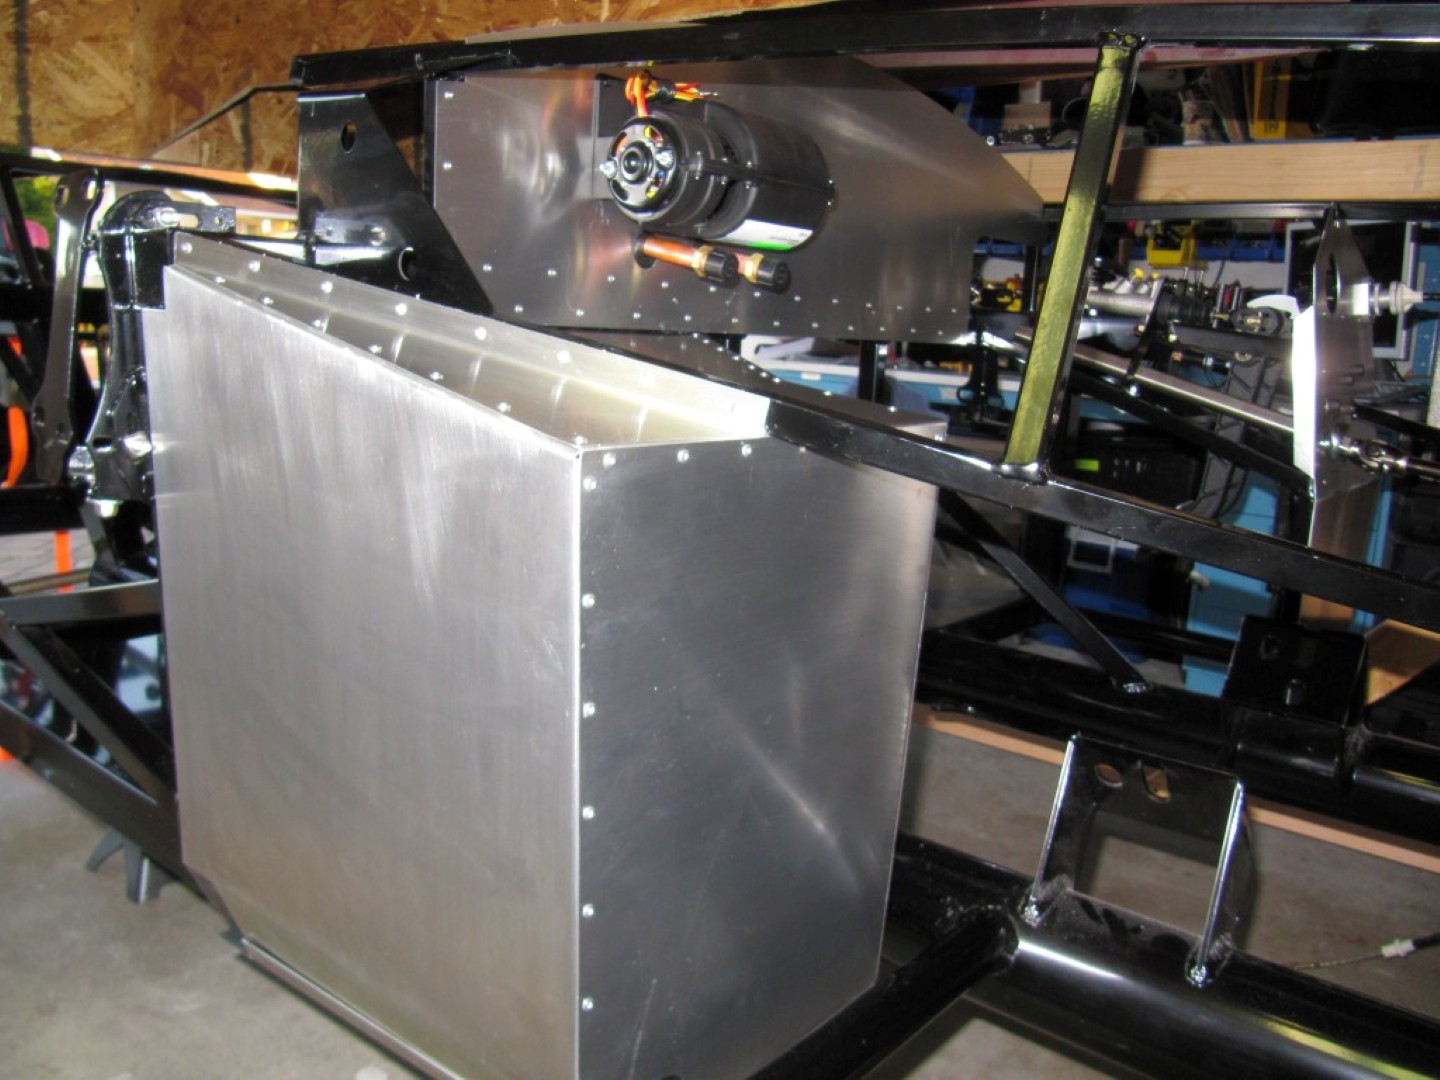
Here is a picture of the internal side of the foot box. As the build progress I will be installing some sound deadening and thermal material and then the top layer of carpeting.

Here is a picture of the completed foot box.... pretty! Too bad most of the sheet metal will be covered.
Here is a picture showing the parts that I will be working on next. Passenger floor board, side panel, transmission tunnel (partially) and rear cockpit

Here is a current view of the front of the car.

Once most of the sheet metal is installed. I will be working on installing the brake and fuel hard lines! Looks like I'll be learning how to make flares and how to make nice bends in the tubing.
No comments:
Post a Comment